
Adam and Eve Monument Process Posts
- Brooke Alyssa Rivera

- Apr 16, 2019
- 2 min read
Updated: May 9, 2019
4/9
Today I completed my modeled monument using Meshmixer. I am very happy with how it came out. It looks exactly like my proposal drawing except I took out the compass because it was too distracting. This is the final product:

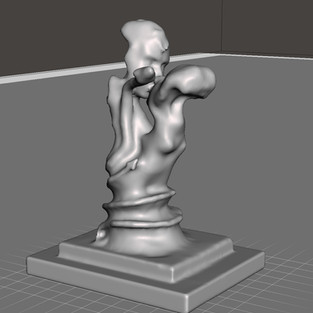

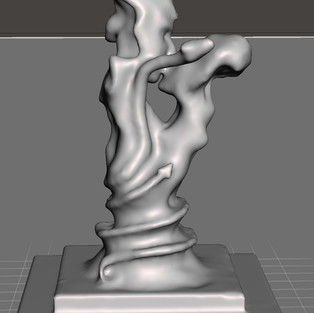


Basically, I started out using Maya to make the base. I used a regular square then scaled it to the size I wanted and extrudes another layer on tops of the base layer. Then, I imported it into Meshmixer. From there I used the sculpting tools to sculpt out Adam and Eve. Then, I used Maya again to make the bigger snake on the top. After, I imported it into Meshmixer and used the sculpting tools to make the wrap around the two people. Finally, I used the sculpting tools again in Meshmixer to extrude out the snake in the bottom of the monument to make it look like the snake is wrapping around Adam and Eve.
4/11
Today I am printing my monument. I imported the STL file into Cura then scaled it to the size I want it to print in. The print is going to take 22 hours. We are also worried the filament will run out.
4/16
Today I got to see my finished print of my monument. It came out amazing, however, it did run out of filament at the top of Adam's head. Other than that it looks very good. It stands up perfectly without any wobbles and there are no issues with it. The detail also came out very well despite the amount of support on it. I will mostly likely print it one more time to get the full version.


5/2
Today I printed again. I attempted to print my monument again because the last time it ran out of filament. This time we sized down my monument to be a little bit smaller for it would take less time. It's going to take 18 hours to completely finishing printing. on May 9th we will have our final critique with my completed 3D print and a little except describing how I came up with my idea and what it is exactly.

Comments